How to Run a Construction Site Safety Inspection
Last updated: 2026-08-14 · Fenwix
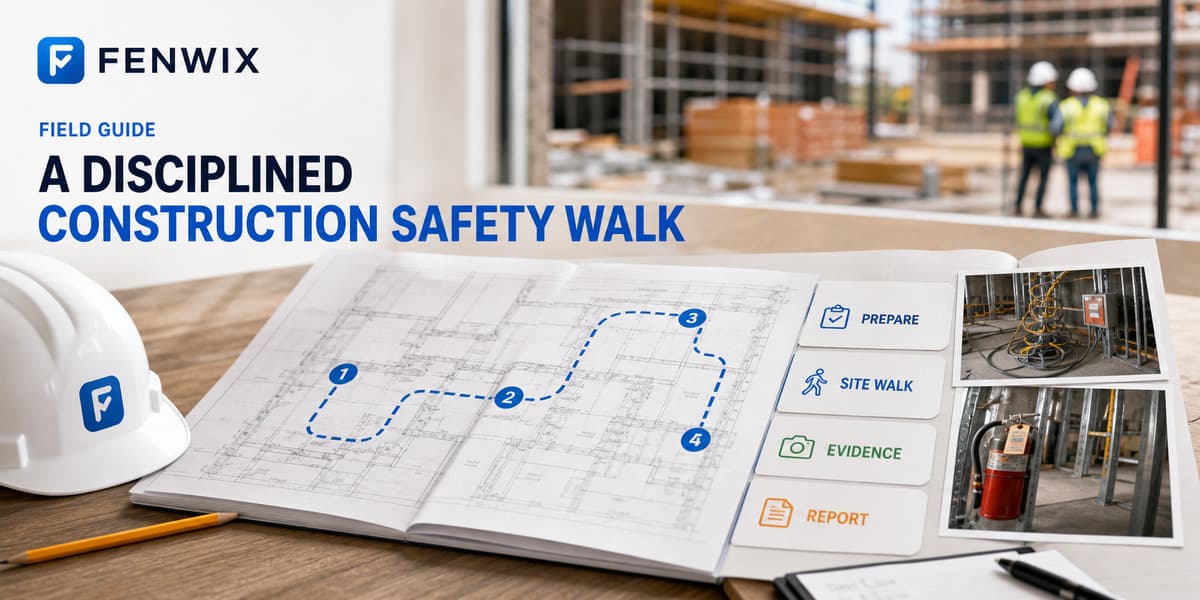
A construction site safety inspection is a planned walk to find hazards before they become incidents. A good inspection produces three things: a photographed record of each hazard, a corrective action with an owner and a due date, and a report you can hand over the same day.
This guide covers the walk step by step: preparation, the order to follow on site, evidence rules, recording findings and verifying closure. Common mistakes and the core checklist items are at the end.
Before the walk: scope and preparation
The inspection starts at the desk. Define the scope: which blocks, which trades, which subcontractors are inside the walk. Bring the open findings from the previous inspection, because the first job of the walk is to see whether they were actually fixed.
- Open findings and due dates from the last inspection
- High-risk work running that day (excavation, work at height, hot work)
- A charged phone or tablet, the required PPE and the asset tag list
- The checklist template you will inspect against
The order of the walk
Wandering skips items. A fixed route keeps the walk shorter and makes one inspection comparable with the next. A sequence that works runs from the outside in:
- 1Perimeter and site entry: fencing, signage, separation of vehicles and pedestrians
- 2Access routes and emergency exits: obstructions, lighting, marking
- 3Work-at-height locations: guardrails, edge protection, harness use
- 4Scaffolds: base, bracing, boards, tag status
- 5Electrical: panels, cabling, temporary lines, earthing
- 6Excavations and trenches: shoring, ladder access, spoil distance from the edge
- 7Plant and equipment: guards, daily check records, operator competence
- 8Housekeeping: material stacks, waste, trip and fall risks
Evidence rules: photos and notes
The record speaks, not the inspector's memory. Take two frames per finding: a wide one that shows where the hazard sits, and a close one that shows the detail. The record must show which block and which checklist item each photo belongs to.
After the fix, take an after photo from the same angle. When before and after sit in the same record, there is nothing left to argue about at closure.
Recording findings: risk, owner, due date
A photographed hazard with no owner does not get fixed. Every finding needs these fields filled:
| Field | Why it matters |
|---|---|
| Risk level | Critical items close the same day, low items close on plan. Priority comes from this field. |
| Corrective action | If the fix is not written down, every reader assumes a different one. |
| Responsible person | Work without an owner is nobody's work. |
| Due date | A commitment without a date cannot be tracked. Overdue must be visible. |
| Immediate measure | Records how the area was made safe until the permanent fix lands. |
Closure: evidence and verification are separate steps
An after photo arriving does not close the finding. The photo is evidence, not acceptance. Closure runs in two steps: the fix evidence is added to the record, then someone with authority verifies it, on site or against the evidence, and closes the record.
The distinction matters most with subcontractor fixes. When the record shows who verified and when, questions that arrive months later are answered from the file.
The report: handed over before leaving site
A report loses value by the hour. Retyping it at the office produces delay and transcription errors. The target is to generate the report as the walk closes and hand it to the site manager the same day.
A useful construction inspection report carries the company identity, report number and compliance summary on the cover, the critical findings and open actions on the first page, and the photographed detail behind them.
Common mistakes
| Mistake | Consequence | Prevention |
|---|---|---|
| Walking without the previous findings | The same hazard travels from walk to walk | Start the walk by checking open findings |
| Recording only the failures | No proof the compliant areas were checked | Mark the conforming items too |
| Leaving photos for later | Evidence gets lost or matched to the wrong item | Shoot while standing at the item |
| Verbal due dates | Closure cannot be tracked | Every finding gets a date and an owner |
| Writing the report next week | Findings go stale | Generate and hand over the report on site |
Core checklist items
These core items form the backbone of most construction walks. Extend the list with the trades running on your own site:
- Perimeter secured and site entry controlled
- Emergency exits and muster points clear and marked
- Edge protection complete at work-at-height locations
- Scaffolds tagged with a valid last-inspection date
- Electrical panels closed and locked against unauthorized access
- Temporary cables lifted over walkways
- Shoring and ladder access in place at excavations
- Machine guards fitted
- PPE matches the work being done
- Fire extinguishers reachable with gauges in the green
- Material stacks stable against toppling
- Waste and debris away from walkways
Running the walk in Fenwix
Everything in this guide runs offline in Fenwix: the ready construction template for the walk, photo evidence hashed with SHA-256 at capture, findings with owners and due dates, closure with evidence and verification kept separate, and the PDF report generated on site. It works the same in a basement with no signal.
Frequently asked questions
Who performs a construction site safety inspection?
Safety professionals, site managers and supervisors. Regulations such as the OSHA construction standards place the duty to identify and control hazards on the employer. Daily short walks are usually run by the site team, with periodic full inspections run by a safety professional.
How often should a site be inspected?
There is no single correct interval. A common pattern combines a short daily safety walk with a full weekly or monthly inspection, increasing frequency during high-risk phases such as excavation and work at height.
Does every finding need a photo?
It is not mandatory, but an unphotographed finding invites dispute. The photo shows the repair crew where the problem sits and gives the verifier something to close against.
Is a paper checklist enough?
It can work on a small site. The difficulty starts at the archive: photos live on a phone, forms in a folder, due dates in nobody's calendar. If the inspection history needs to be answerable, the record, the evidence and the deadline have to live in one place.